
Starlings Roosting on Your House or Farm? How to Move Them On with a Laser
Murmurations are beautiful – until thousands of starlings decide to roost in your trees, barn or roof every night. How to use a green laser at dusk to stop a roost forming, and when to leave them alone.
A murmuration over a reedbed on an autumn evening is one of the great sights of the British countryside. A roost of several thousand starlings in the trees by your house, your barn or your cattle shed is a different matter: the noise at dusk and dawn, the droppings on cars, yards and feed, and the smell. Starlings are also declining in the UK, so the aim is never to harm them – only to persuade them to roost somewhere else. A green laser pointer can help, if you get the timing right.
How a starling roost works
From autumn into late winter, starlings feed in small groups by day and gather in the late afternoon. Groups join up, often swirling in a murmuration, and then drop into the roost – trees, hedges, reedbeds, piers or buildings – as the light fades. At dawn they leave again in waves. A roost site that feels safe can be used for weeks, and the same sites are often used year after year.
That pattern gives you two moments to act: the arrival at dusk and the early days of a new roost. It is far easier to stop a roost forming than to shift one that has been in place for a month.
Why the laser helps
Starlings are flock birds. When the first groups come in to land and see a bright dot moving through the branches or along the roof, they hesitate – and the birds behind them follow the leaders. If the site feels unsettled several evenings in a row, the flock tends to choose another one. The laser does not touch the birds and makes no noise, which matters when a roost is near houses.
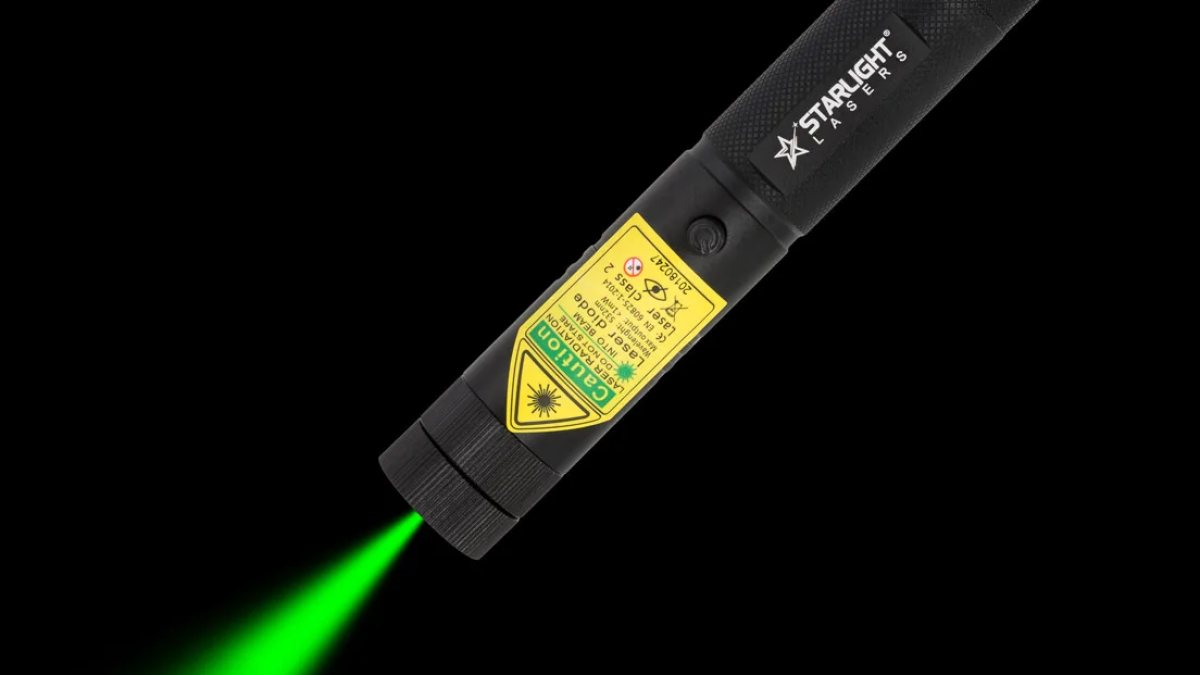
Our lasers are class 2, up to 1 mW – the class intended for sale to the public in the UK. At dusk, exactly when starlings arrive, a green dot is visible to approx. 300 m (indicative).
Range (indicative)
| Conditions | Visible dot |
|---|---|
| Indoors | 30 m+ (a whole room or hall) |
| Daylight (dot on a shaded surface) | approx. 100 m |
| Dusk and dawn | approx. 300 m |
| Dark | approx. 1 km (dot); beam faintly visible in very dark, humid air |
The method
- Watch first. Spend one evening noting when the first groups arrive and where they land. Often it is half an hour or so before full dark.
- Be in position early. The next evening, be there before the first birds come in.
- Work the landing spot. As the first groups approach, move the dot slowly through the trees, hedge or roof edge where they want to land. Do not aim at the birds in the air – keep the dot on branches, hedges and roofs.
- Keep it calm. Steady sweeps, with pauses. You want the site to feel uneasy, not to create panic.
- Stop once they have gone elsewhere. Then repeat at dusk for at least a week.
Working as a team
A roost in a long hedge or a row of trees can be too wide for one person. If neighbours are affected too, agree a plan: one person at each end of the tree line, each working their own section, both switching off once the flock has gone. Agree in advance where nobody may point – the road, the houses, the footpath – and keep to it. Neighbours who know what you are doing are much more likely to help than to complain.
What to expect
On the first evening the flock may circle, land briefly and lift off again several times. That is normal. Over the following evenings you will often see the birds arrive, hesitate and carry on to another site. Some evenings will go better than others; wind, rain and the time of sunset all change their behaviour. Keep a note of arrival times – they shift by a few minutes each week as the days shorten and lengthen.
Where it works – and where it does not
- Garden trees and hedges near the house: usually workable, especially for a new roost.
- Farm buildings and cattle sheds: work the roof edges and openings at dusk; combine with closing gaps where you can.
- Large, long-established roosts in woods or reedbeds: these are often protected sites with large numbers of birds. Leave them alone – and enjoy the show.
- Roosts inside buildings: once birds are inside, a laser is the wrong tool; proofing is the answer.
The rules
Starlings are protected like all wild birds in the UK. You may scare them away from a site; you must not harm them or destroy active nests. Starlings nest from spring into early summer, often in roof spaces – do not disturb nests that are in use, and plan any proofing of roof gaps for autumn and winter. Roost deterrence, by contrast, is an autumn and winter job, which fits neatly with the law.
For the laser: always check for aircraft before you switch on – starling roosts are often in open landscapes under flight paths. Never aim at people, animals’ eyes, vehicles, windows or water. See our laser pointer safety page.
Which laser?
For starlings you need green, and you will be using the laser every evening for a week or more. That makes a rechargeable model the practical choice: the G3 Pro or the G1 Pro (take the pattern lens off). A charged spare 18650 cell in your pocket means a cold evening never ends early. For a small garden roost, the X1 pen will do.
More on other species in how to scare birds with a laser pointer, and a summary on our laser pointer for scaring birds page.
More articles
Blog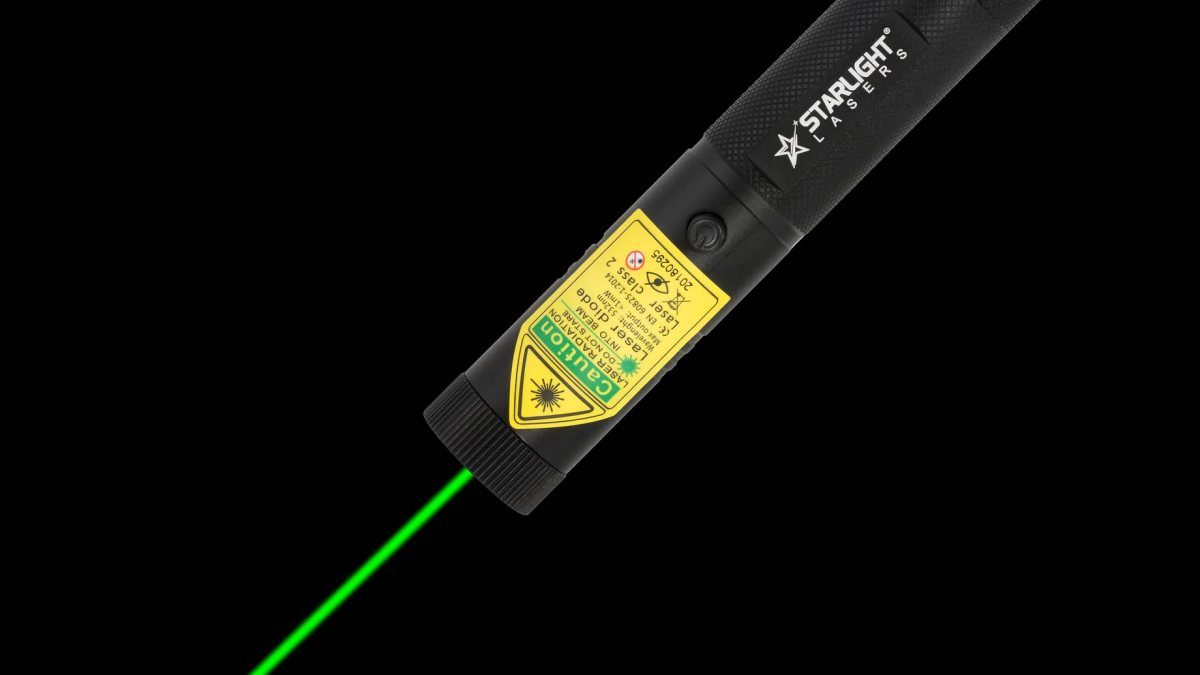
How to Scare Birds with a Laser Pointer: A Practical Plan for Farms, Gardens and Boats
Pigeons on the roof, gulls on the boat, starlings in the hedge, geese on the winter wheat: a site-by-site plan…
Stargazing with a Laser Pointer: What to Show in UK Skies, Season by Season
A green laser pointer makes it easy to show friends and family the stars. How to use one well, what to expect…
How to Keep Pigeons off Your Roof with a Laser Pointer
Pigeons on the ridge, in the gutter and on the solar panels? How to use a green laser pointer to break their e…